Deploy .NET application in the
Kubernetes:
Step1: Create a .net project
dotnet new webapi -n k8webapi
Step2: Build the project using the below
command
dotnet build
Step-3: Create publish file in the release
folder
dotnet build -c release
Step-4: Now run the program
dotnet run
Step-5: The actual project structure
project
directory structure:
TESTAPI
K8webapi>>Bin>>Debug
K8webapi>>Bin>> Release
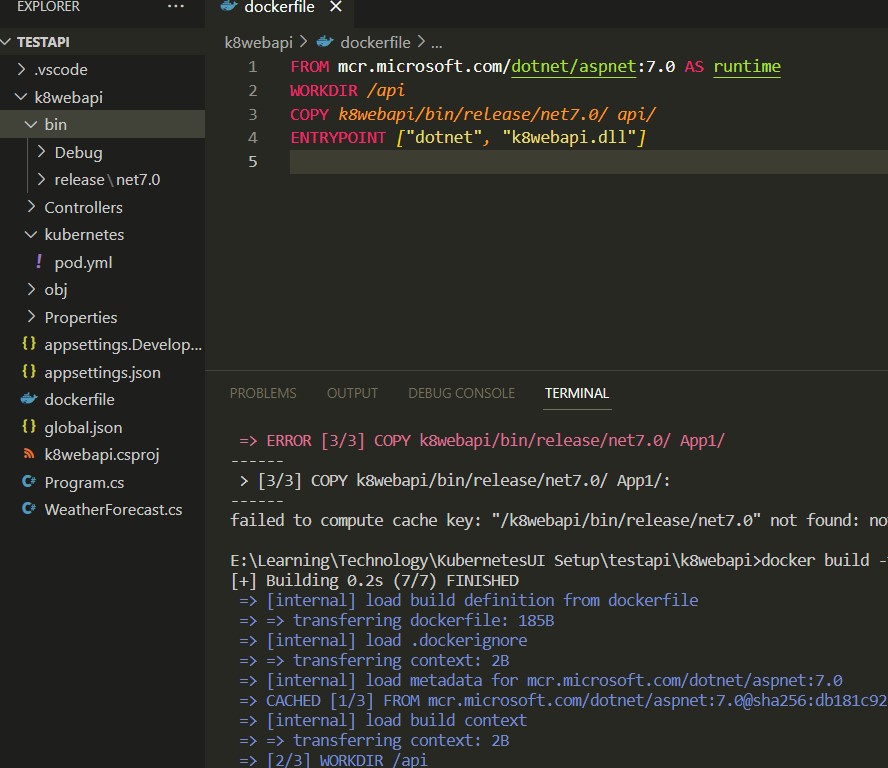
Step-6: Create a docker image using the below
command
create
a docker image. To create a docker image, first need to create docker file
now
create a docker images using the docker file. You can keep filename: dockerfile
FROM mcr.microsoft.com/dotnet/aspnet:7.0 AS runtime
WORKDIR /app
COPY k8webapi/bin/release/net7.0/ ./
ENTRYPOINT ["dotnet", "k8webapi.dll"]
Step-6: Create docker images using the
docker build -t k8webapi-image -f "e:\Learning\Technology\KubernetesUI Setup\testapi\k8webapi\dockerfile" .
Step-7: Check whether images has created or not.
check
whether image has created or not
docker images
Step-8: Create a POD file and move image file
into the Kubernetes
now
need to create a pod file and then deploy image into Kubernetes cluster
then
run it. File name: Pod.yml
apiVersion: v1
kind: Pod
metadata:
name: k8webapi-image-web-test
spec:
containers:
- name: k8webapi-image-web
image: k8webapi-image
imagePullPolicy: IfNotPresent
ports:
- name: web
containerPort: 80
Step-9: Now check POD is running or not
check
pod created successfully using below command:
kubectl port-forward k8webapi-image-web-test 5000:80
No comments:
Post a Comment